Wednesday, November 17, 2010

Bautzen


The battle of Bautzen is a large battle; fought over two days, with 200,000 French commanded by Napoleon against 96,000 Prussians and Russians. This was the second battle of the 1813 campaign. Napoleon had defeated the Prussians at Lutzen just 20 days earlier. On paper it should have been a decisive victory for Napoleon. He won the battle, but he allowed the allies to retreat to the east. The armistice followed, which in turn led to the Austrians joining the allied cause and the defeat of Napoleon at Leipzig.


Bautzen is a large battlefield which stretches 4 miles north to south and 2 miles west to east. The allied armies were deployed in sloping ground behind a formidable river. It is not possible to take in the whole battlefield from one position, and we would be taken to five different locations, plus a visit to the city itself.


The first location was situated on a hill where the allied left flank stood. It provided a marvelous view of the whole southern part of the field. Bautzen itself it out of sight behind the trees on the left. This view covers the area from Jenkwitz to Plieskowitz


Quite near to our first location was this large farm complex. I have no idea how old it is, but it looked like parts of it might well have been there in 1813.


For our second location we were taken to the allied right flank near the village of Klix, which can be seen through the trees in the centre of the photograph. This is where Marshal Ney reached the battlefield. He was supposed to arrive much further east, and prevent the allied retreat.

This is the village of Hochkirchen. This church steeple was an aiming point for Marshal Ney as he marched on the allied right flank. However he swung to his right here, and arrived in front of the allied right rather than behind it.


For our third location we moved over the river to the French left. This photo was taken just south of the village of Klix, and shows Ney’s view of the battlefield as he joined the battle.


Taken from the same location, this photo shows Kleists position at Klein Bautzen (centre of photo).

Again taken near the previous photo, this one shows the village of Preititz, where Neys attack struck home.


After four hours walking the battlefield we took a break and visited Bautzen for lunch. It is a typical German walled town, with much of the original wall still standing.


The unusual tower in the centre of Bautzen makes the town easy to identify from a distance.


The river runs just east of the town and is a formidable obstacle


This tower formed part of the town wall. Bautzen is an interesting town to explore with lots of character.


After lunch it was back in the coach, which returned us to the French left centre. We did not visit the French centre or right, and I assume that this is because there was no suitable location to view it from.


Our fourth location was a lay-by just east of the river where General Bertrand was held at bay by Blucher who occupied the Krechnitz Heights. Its capture by Napoleon’s Young Guard forced the Prussians to retreat and signaled the end of the battle.


Our fifth location is on the Krecknitz Heights looking towards Ney’s position at Plieskowitz.

It is easy to miss this memorial to the Prussian dead, which is hidden amongst the trees near to Blucher’s command post.

Wednesday, November 3, 2010

Festung Konigstein


Just a few miles from Dresden, Festung Konistein dominates the river Elbe and the surrounding area. Napoleon visited and inspected the castle in 1813, but as far as I know it played no active part in the Napoleonic Wars


The fortress was considered to be impossible to capture, and indeed no one seems to have attempted to do so. It is first mentioned in 1250 and since then has served as a monastery and a prison, as well as its primary function as a military stronghold and final refuge for the Kings of Saxony.


We were dropped off here whilst the coach and our guide went off to recce the next battlefield. To be honest we were not unhappy to visit the fortress, which is a favourite tourist attraction.


We did not have a guided tour, but were left to explore as we wished. There is a museum which has many items connected with the garrison, including artillery uniforms of the Napoleonic period.


But the most interesting part of our visit was walking the ramparts. It covers a large area and we only just had enough time to walk around the wall in the two hours we were allowed there.


During the First and Second World Wars the fortress was a POW for senior allied officers. At this spot there is a description of the escape of the French general Henri Giraud, who apparently climbed down the wall at this point!


The river Elbe at this point is wide and impressive. It made me realise what a major military obstacle it must have been in the Napoleonic period, and what a major task it must have been to cross if the bridges had been destroyed.

Tuesday, October 26, 2010

Dresden


Our visit to Dresden was the first, but not the last, disappointment of this guided tour of Napoleon in Germany. There was, of course, a major battle fought at Dresden. But no attempt was made to explore that battle. Instead our time in Dresden was considered a “free day”. In my opinion this is always a cop out. Who wants a “free day” when they have paid a lot of money for a guided tour. Our guide and coach disappeared for the day, and we later discovered that they had gone to do a recce of Bautzen, the next battlefield we were to visit.


We had done a lot of preparation for this visit, and had studied the battle of Dresden on 27 August 1813. We were aware of the main phases of the battle, and in particular of the importance of the Great Garden, which was the scene of some of the fiercest fighting.


We took a guided bus tour of the city and arranged to leave the bus at the garden. The garden is still a feature of the city, but the whole area has now been developed leaving no suggestion of the original battlefield. We spent a couple of hours exploring surrounding area, but to be honest there was nothing to suggest that it had ever been the scene of a major battle.


The garden itself has been completely rebuilt, and is similar to any park in any major city. It is a pleasant place to spend an hour walking around, but there was no sign or recognition we could find to suggest that it had been the scene of a major battle.


Dresden is the capital of Saxony and has its share of impressive buildings. It also has a military museum, which we visited. Most of it was devoted to WWI. We found the same in the excellent military museum in Vienna. The Germans seem to ignore WWII. We were very disappointed not to find anything about the Napoleonic period.

All in all Dresden was a disappointment for anyone interested in the Napoleonic period. When we visited in 1999 it was also a depressing city with large sections of typical eastern European social housing and still much bomb damage from WWII.

Tuesday, October 19, 2010

Auerstadt


Auerstadt is an easy battlefield to explore, and the road junction at the village of Hassenhausen is an excellent place to start. This was the centre of the French position and the area of the most intense fighting.


Auerstadt was, of course, fought on the same day as Jena. Marshal Davout took on the larger part of the divided Prussian army and won an outstanding victory. Some say it was resented by Napoleon, who had thought that he was fighting the entire Prussian army at Jena.


This view was taken from the extreme right of the French line. It is looking right towards the area of Blucher’s cavalry attack which came from Speilberg (centre of photo). This was followed by an infantry attack, which the leading French division were hard pressed to resist. When Friants division arrived they were used to extend the French line towards Speilberg.


Taken from the same spot, this is looking left towards Hassenhausen. The line of trees follow the Speilberg road. Guidin was the leading French division and they held this area against the first Prussian attack.


Again from the same spot, this time looking directly ahead to the centre of the Prussian deployment area. The main Prussian attack advanced towards the camera. It was also the scene of the Prussian rear guard action at the end of the battle. There were a number of attacks and counter attacks here throughout the battle.


Again from the cross roads, looking half right towards Poppel. The village is hidden by the trees in the centre of the photographs. The French cavalry screening Davouts march towards Jena were surprised by the Prussian advance guard just short of Poppel. The capture of the village by Friant later in the battle signaled the beginning of the end for the Prussian army.


This photo was taken from the cross roads at the village of Hassenhausen. I was struck by how similar it looked to Waterloo. May Prussian attacks, including the famous massed cavalry charge, were launched over this area. The Brunswick monument is in dead ground to the front. Far right is the village of Gernstadt.


Artist impression of the massed Prussian cavalry attacks on the French squares. Again a reminder of the doomed French cavalry charge on the British squares at Waterloo.


The Brunswick Monument marks the spot where the Duke of Brunswick received the fatal wound to his eye. Nine years later his son would be killed at Quatre Bras.


Taken from the Brunswick Monument looking towards Hassenhausen. This is the view as seen by the massed Prussian cavalry as they advanced against the French left wing with its steady infantry squares.


Returning to Hassenhasuen we found a new museum. It was closed, but our guide managed to persuade the owner to open it for us.


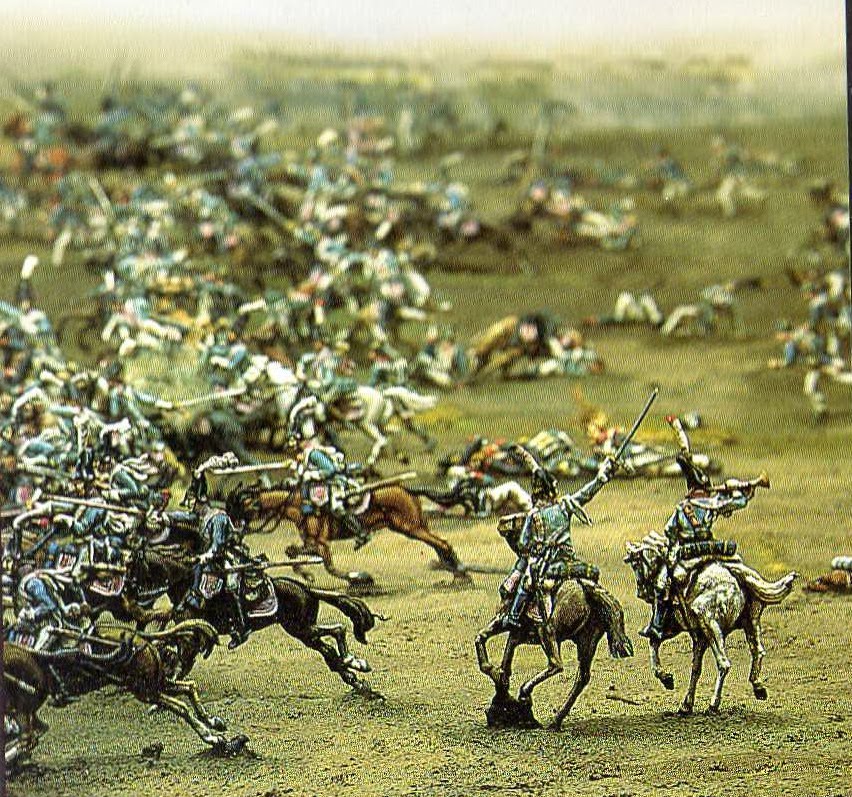
The centerpiece of the museum was this large diorama of the battle. The figures are all “flats”, much more common in Germany than the usual round model soldiers found in UK.


A close up of the diorama


Finally a walk around the village, followed by a picnic lunch outside they museum overlooking the battlefield.

Monday, October 11, 2010

Jena - Kapellendorf


The last part of our visit to Jena battlefield was to the town of Kapellendorf. This small town is on the extreme west of the battlefield, and is the place where the last Prussian attempt was made to step the French pursuit.


The Prussian general Ruchel arrived on the battlefield with 13,000 men just as the main Prussian army broke and ran. In a very brave, if ill advised, attempt to save the broken army he advanced into the face of the French pursuit.


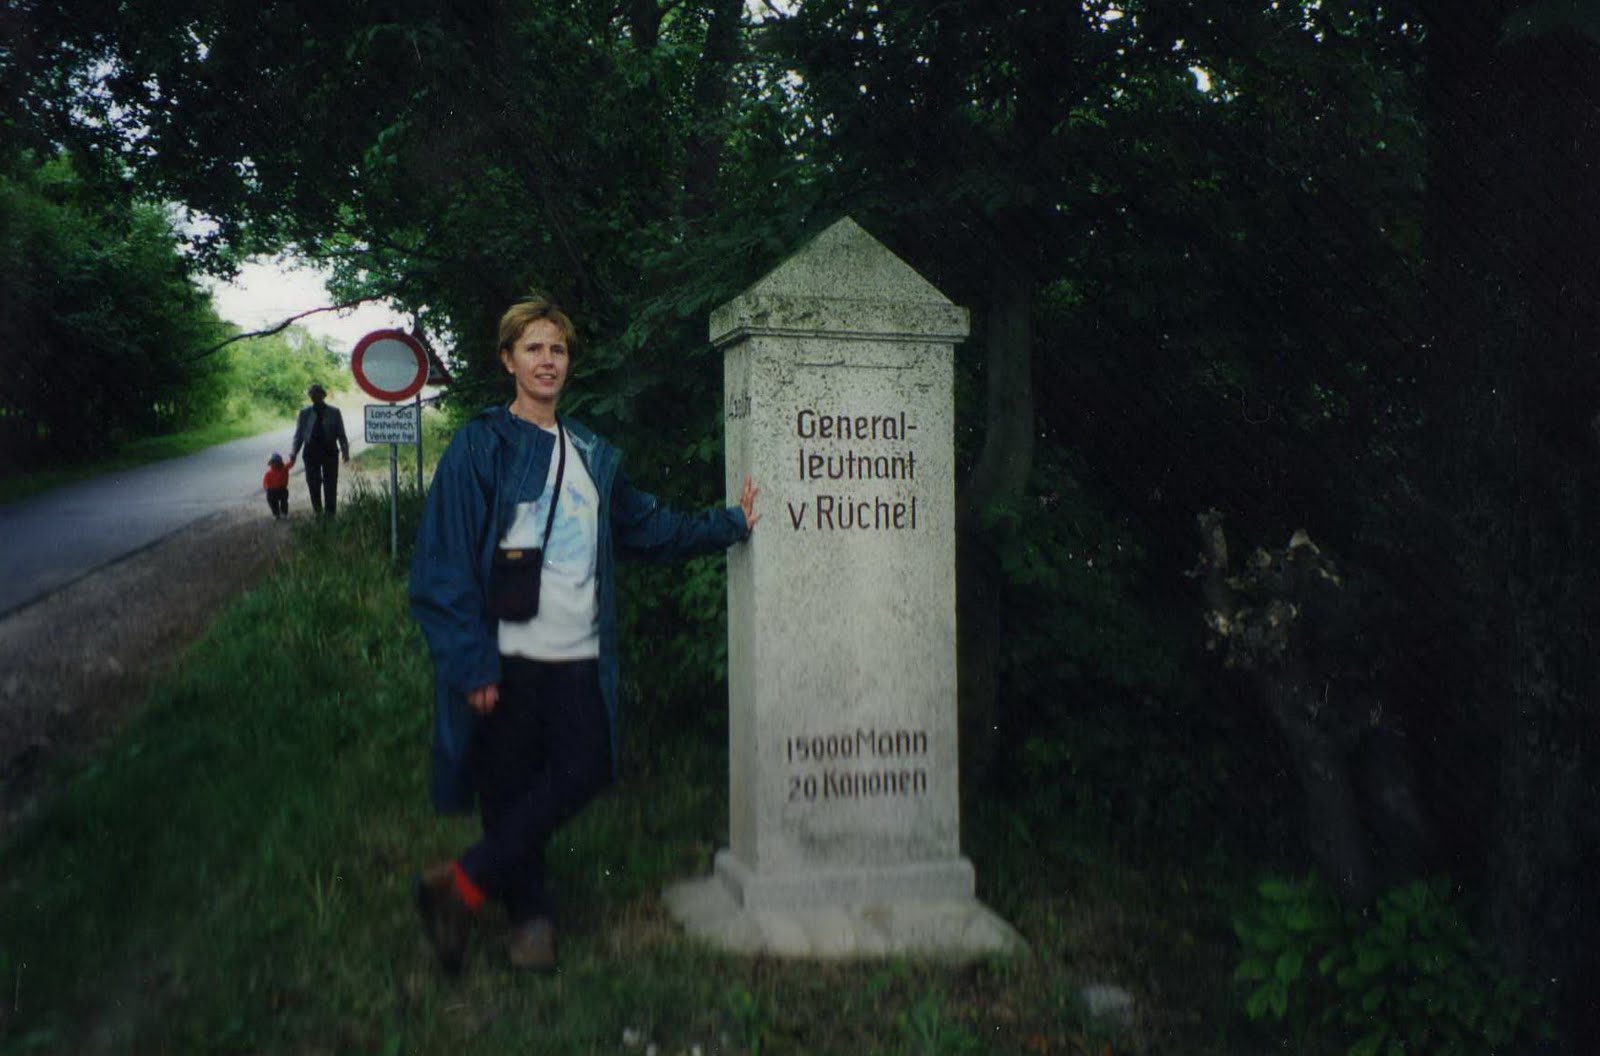
This monument to Ruchel is sited just outside Kapellendorf on the road to Gross Romstadt and marks the final approach of Ruchel’s division and the centre of his line of attack.


The Kapellendorf Prussian monument is on a hill just east of the town and provides excellent views of the area which was the site of both Murat’s cavalry charge and Ruchel’s doomed attack.


This photo was taken from the monument. The road on the right leads to Gross Romstadt. Ruchel’s division advanced either side of this road until they were crushed by the French pursuit.


Also taken from the monument. The town of Kapellendorf and the hill which Ruchel climbed to launch his attack on Gross Romstedt.

Sunday, October 3, 2010

Jena - Vierzehnheilligen


Outside the village church is a memorial to the fallen on both sides.


The initial French attack ran out of steam just short of the village of Vierzehnheilligen. As Napoleon reorganized his army to continue the attack, Marshal Ney arrived on the field with part of his corps. He immediately attacked and quickly became isolated and in danger of being destroyed. Napoleon was forced to commence his attack early in order to save Ney.


This photo is taken from Dornberg Ridge. Amongst the woods to the left of the road is the village of Vierzehnheilligen. It was over this ground that Marshal Ney made his unwise attack. This was also the scene of Marshal Murat’s famous, and very successful, cavalry charge.


The village church was both a strongpoint during the battle, and a hospital immediately afterwards.


The village centre was the scene of the heaviest fighting and changed hands many times during the day.


Vierzehnheilligen from the west. Ney led his ill fated attack from right to left. On the left of the photo the Prussian infantry formed line to exchange fire with the French holding the village, and lost heavily.


Marshal Murat led his charge across this ideal cavalry ground from right to left towards the village of Klein Romstadt (centre left)


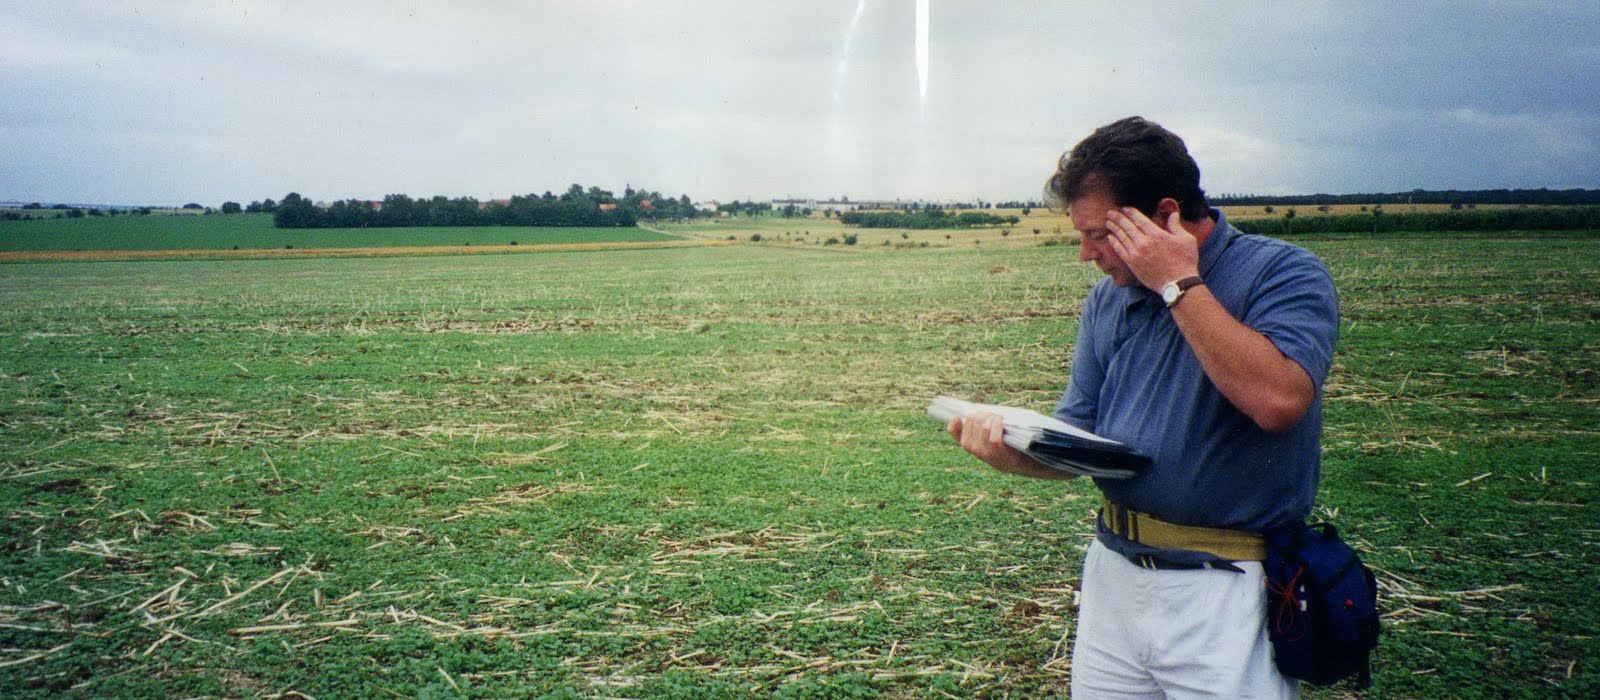
Our tour leader, Alan Rooney, explains the final phase of the battle. The Prussian general Ruchel led his troops forward from Gross Romstadt (centre) to delay the French pursuit and allow the remainder of the Prussian army to withdraw. He was soon overrun by the French cavalry and infantry and joined the rout. Alan’s concentration is distracted by three loud combine harvesters who have just moved out of sight to the left.